A Step-by-Step Guide on How to Lay Flagstone
If you're dreaming of a beautiful, natural stone patio or walkway in your backyard, you've come to the right place. Today, we're going to walk you through the step-by-step process of laying flagstone. It's a rewarding DIY project that can transform your outdoor space into a stunning, functional area.
Why Choose Flagstone?
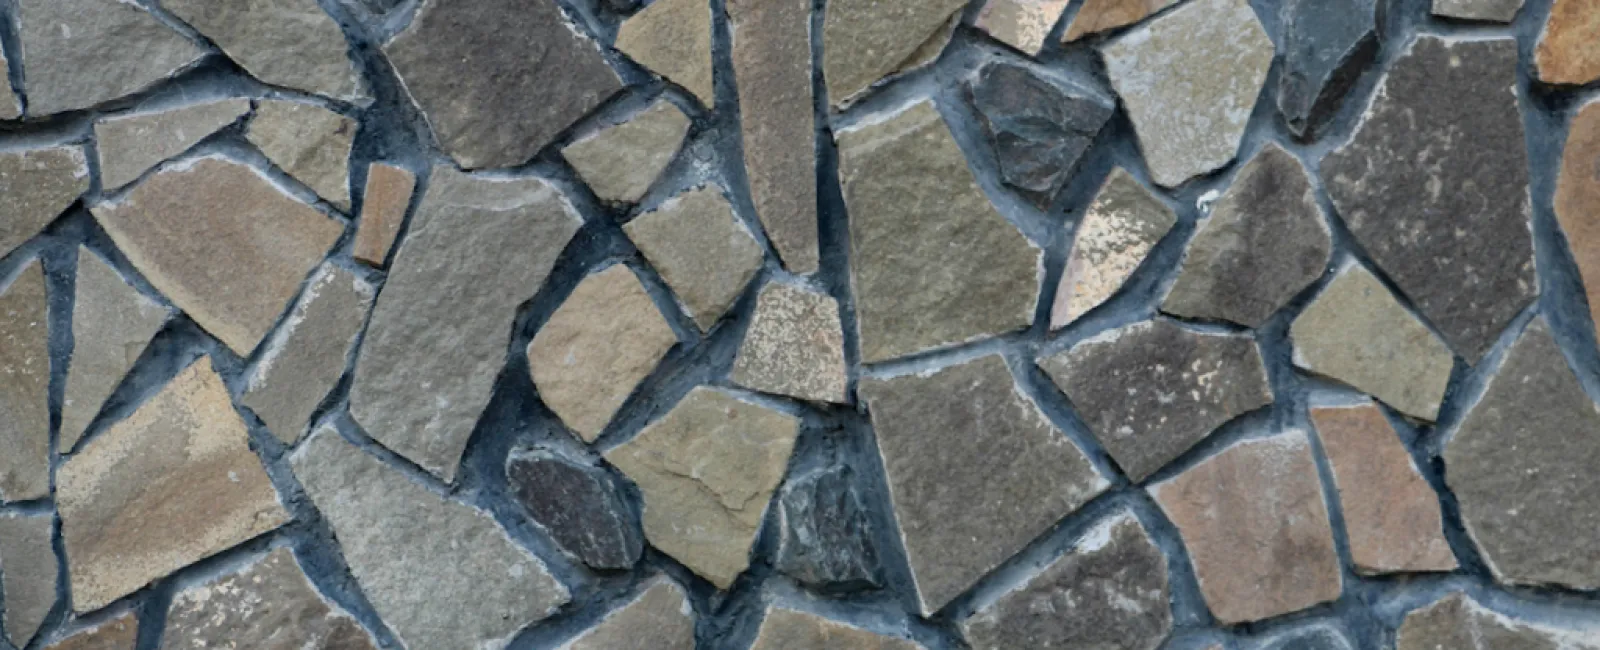
Before diving into the steps, let's talk about why flagstone is a fantastic choice. Flagstone is a durable, versatile material that offers a timeless, rustic charm. Each piece is unique, creating a natural mosaic that's both aesthetically pleasing and practical. Plus, flagstone can be used for patios, walkways, and even driveways.
What You'll Need
Here's a list of materials and tools you'll need to get started:
Materials:
- Flagstones
- Crushed stone or gravel
- Sand
- Landscape fabric
- Polymeric sand (optional, for joints)
Tools:
- Shovel
- Wheelbarrow
- Rake
- Rubber mallet
- Level
- Garden hose
- Broom
- Measuring tape
- Stakes and string
Step 1: Plan Your Layout
First things first, plan the layout of your flagstone project. Measure the area where you want to place the flagstones and mark it with stakes and string. This step helps you visualize the space and ensures you have enough materials.
Step 2: Prepare the Base
A strong, stable base is crucial for a long-lasting flagstone surface.
- Excavate the Area: Dig out the area to a depth of about 4-6 inches. This allows room for the base material and the flagstones.
- Install Landscape Fabric: Lay landscape fabric over the excavated area to prevent weeds from growing through your flagstone.
- Add Crushed Stone: Fill the area with 3-4 inches of crushed stone or gravel. Use a rake to spread it evenly and a tamper to compact it firmly. This layer provides drainage and stability.
Step 3: Add a Layer of Sand
Spread a 1-2 inch layer of sand over the crushed stone. Use a rake to level the sand, and then smooth it out with a piece of wood or a level. The sand layer helps to secure the flagstones in place.
Step 4: Lay the Flagstones
Now comes the fun part - laying the flagstones!
- Place the Stones: Start placing the flagstones in your desired pattern. Fit the stones together like a puzzle, leaving small gaps between them for sand or ground cover.
- Adjust for Stability: Use a rubber mallet to tap each stone into place, ensuring they are stable and level. You might need to add or remove sand beneath certain stones to get them to sit just right.
Step 5: Fill the Gaps
Once all the stones are laid out and leveled, it's time to fill the gaps between them.
- Add Sand or Polymeric Sand: Sweep sand or polymeric sand into the gaps between the flagstones. Polymeric sand hardens when wet, which helps to lock the stones in place and prevent weeds.
- Water the Surface: Lightly water the entire surface with a garden hose to help the sand settle into the gaps. If using polymeric sand, follow the manufacturer's instructions for watering.
Step 6: Final Touches
Inspect the flagstone surface for any uneven areas and make adjustments as needed. Ensure that all stones are secure and the gaps are adequately filled.
Enjoy Your New Flagstone Surface!
Congratulations! You've successfully laid your flagstone patio or walkway. Now it's time to sit back, relax, and enjoy your beautiful new outdoor space. Whether you're hosting a summer barbecue or simply soaking up the sun, your flagstone surface is sure to be a stunning focal point.
If you need any assistance or professional help with your flagstone project, don't hesitate to reach out to us at Sudlow Concrete. We're here to make your outdoor dreams come true. Happy paving!

