How to Build a Retaining Wall on a Slope Without Costly Mistakes
What You Should Know First
If your yard slopes, you already know the struggle — erosion after heavy rain, awkward landscaping, and outdoor space that's hard to actually use. A retaining wall can solve all of that. But building one on a slope is very different from building on flat ground.
The good news? A sloped retaining wall can absolutely be done right. The key is understanding what matters structurally, where people usually cut corners, and when it makes sense to bring in a professional.
This guide walks through how to build a retaining wall on a slope in a way that's realistic, durable, and built to last.
Steps to Build a Retaining Wall on a Slope
This guide walks through how to build a retaining wall on a slope in a way that's realistic, durable, and built to last.
Step 1: Take a Real Look at Your Slope
Before thinking about materials or design, start with the basics:
How steep is the slope?
Does water rush through this area when it rains?
What kind of soil are you working with?
Steeper slopes and clay-heavy soil put more pressure on a wall. If your wall will be over 3 feet tall, many areas require permits or engineering — and even if they don't, that's usually the point where things get more complicated.
Step 2: Pick the Right Type of Retaining Wall
Not every retaining wall is a good fit for a slope.
Common options include:
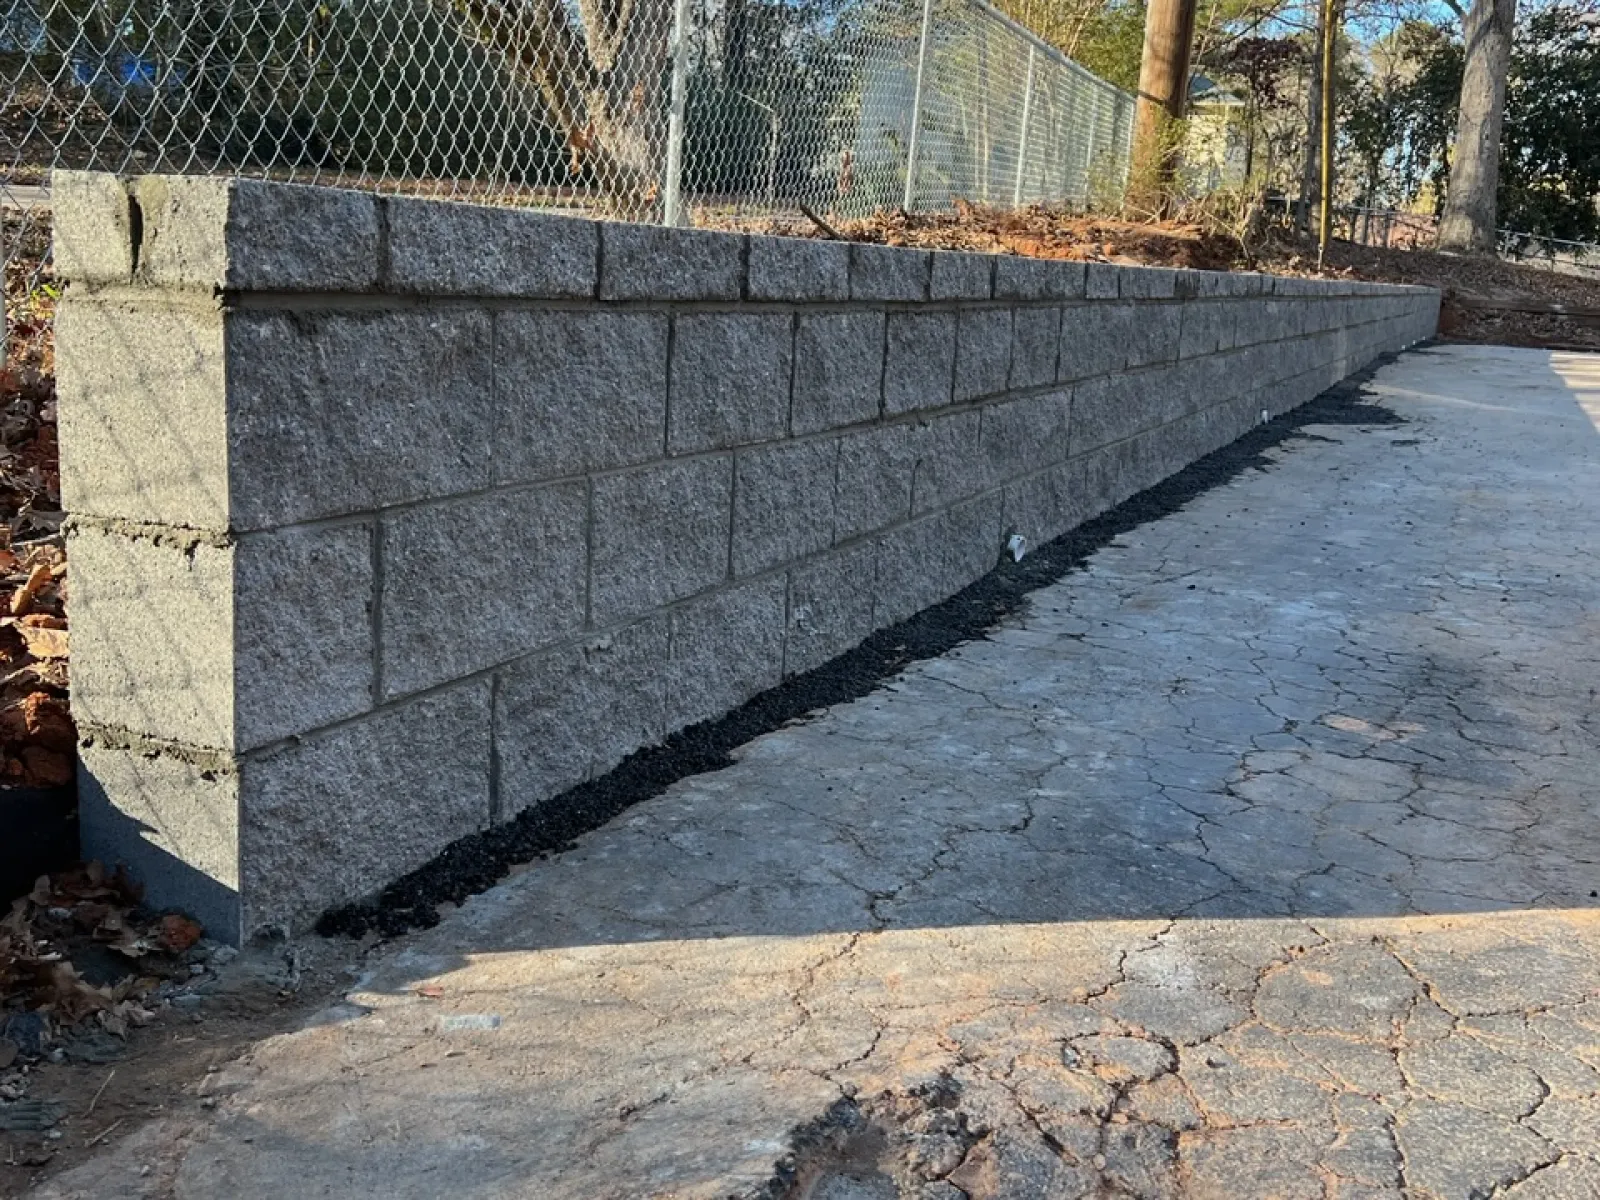
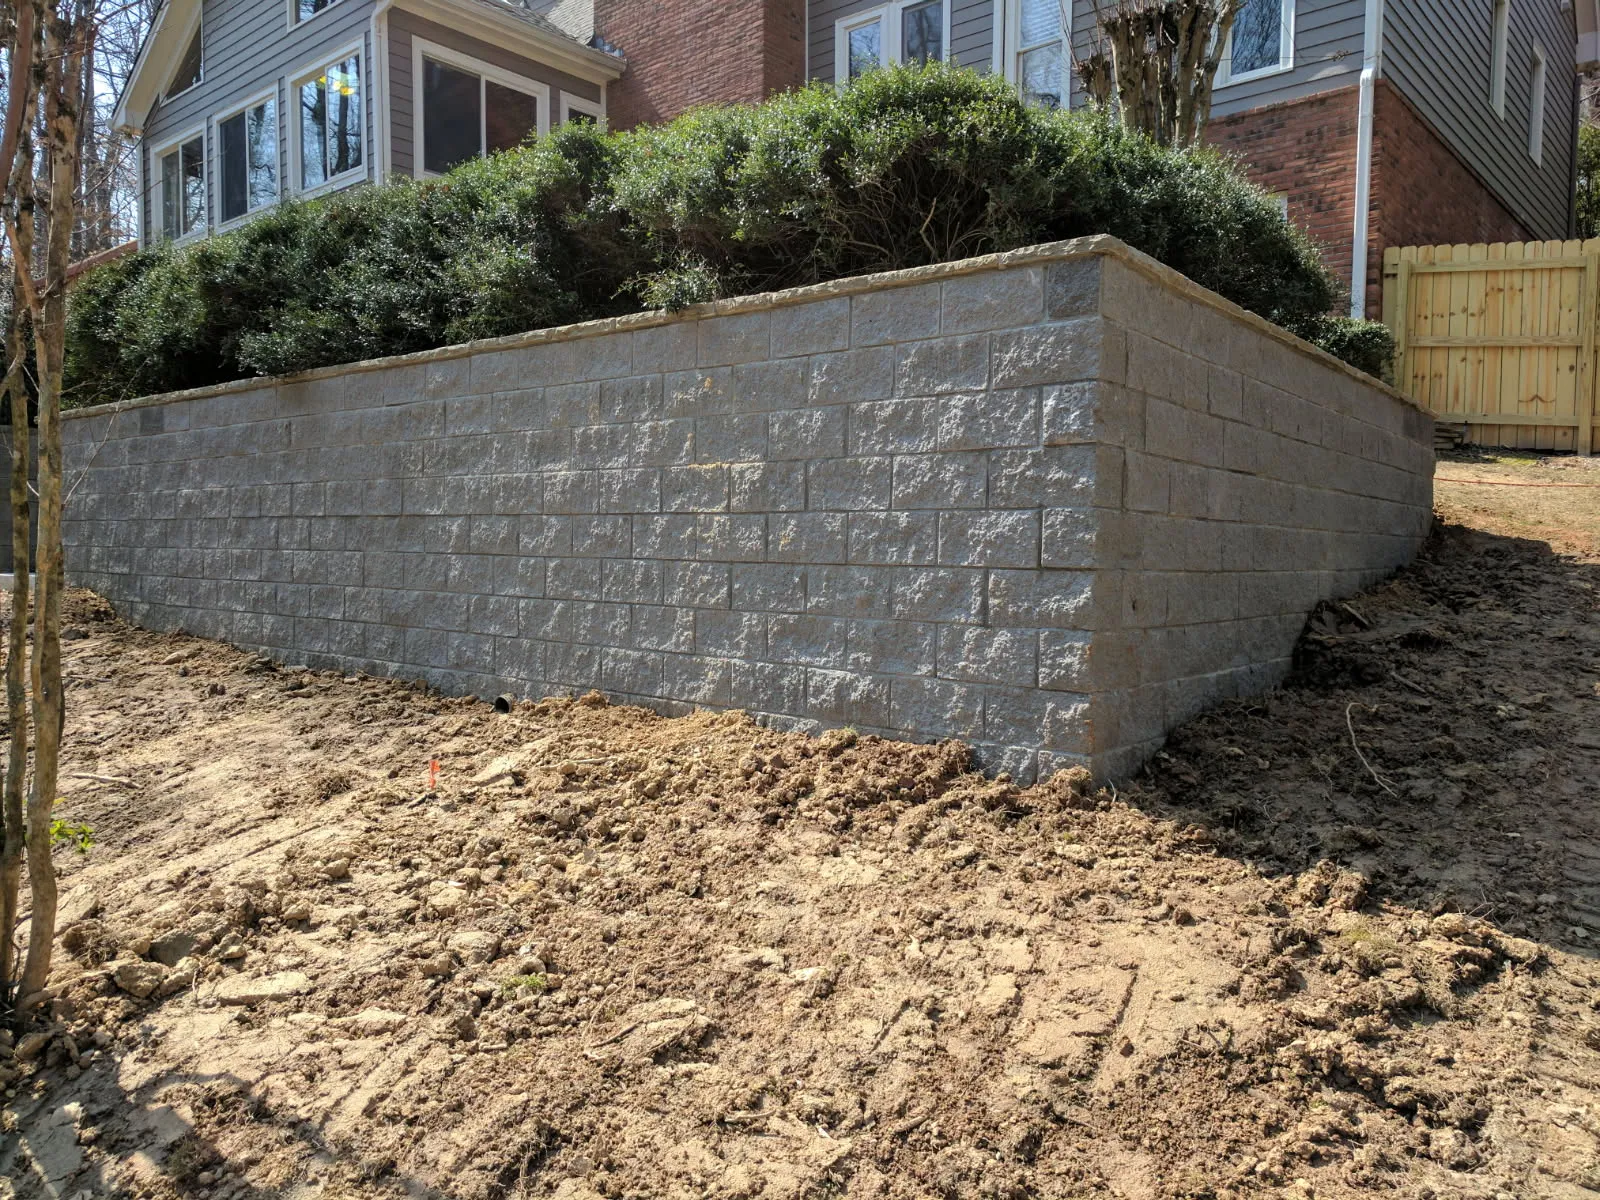
Segmental concrete block walls (very popular and reliable)
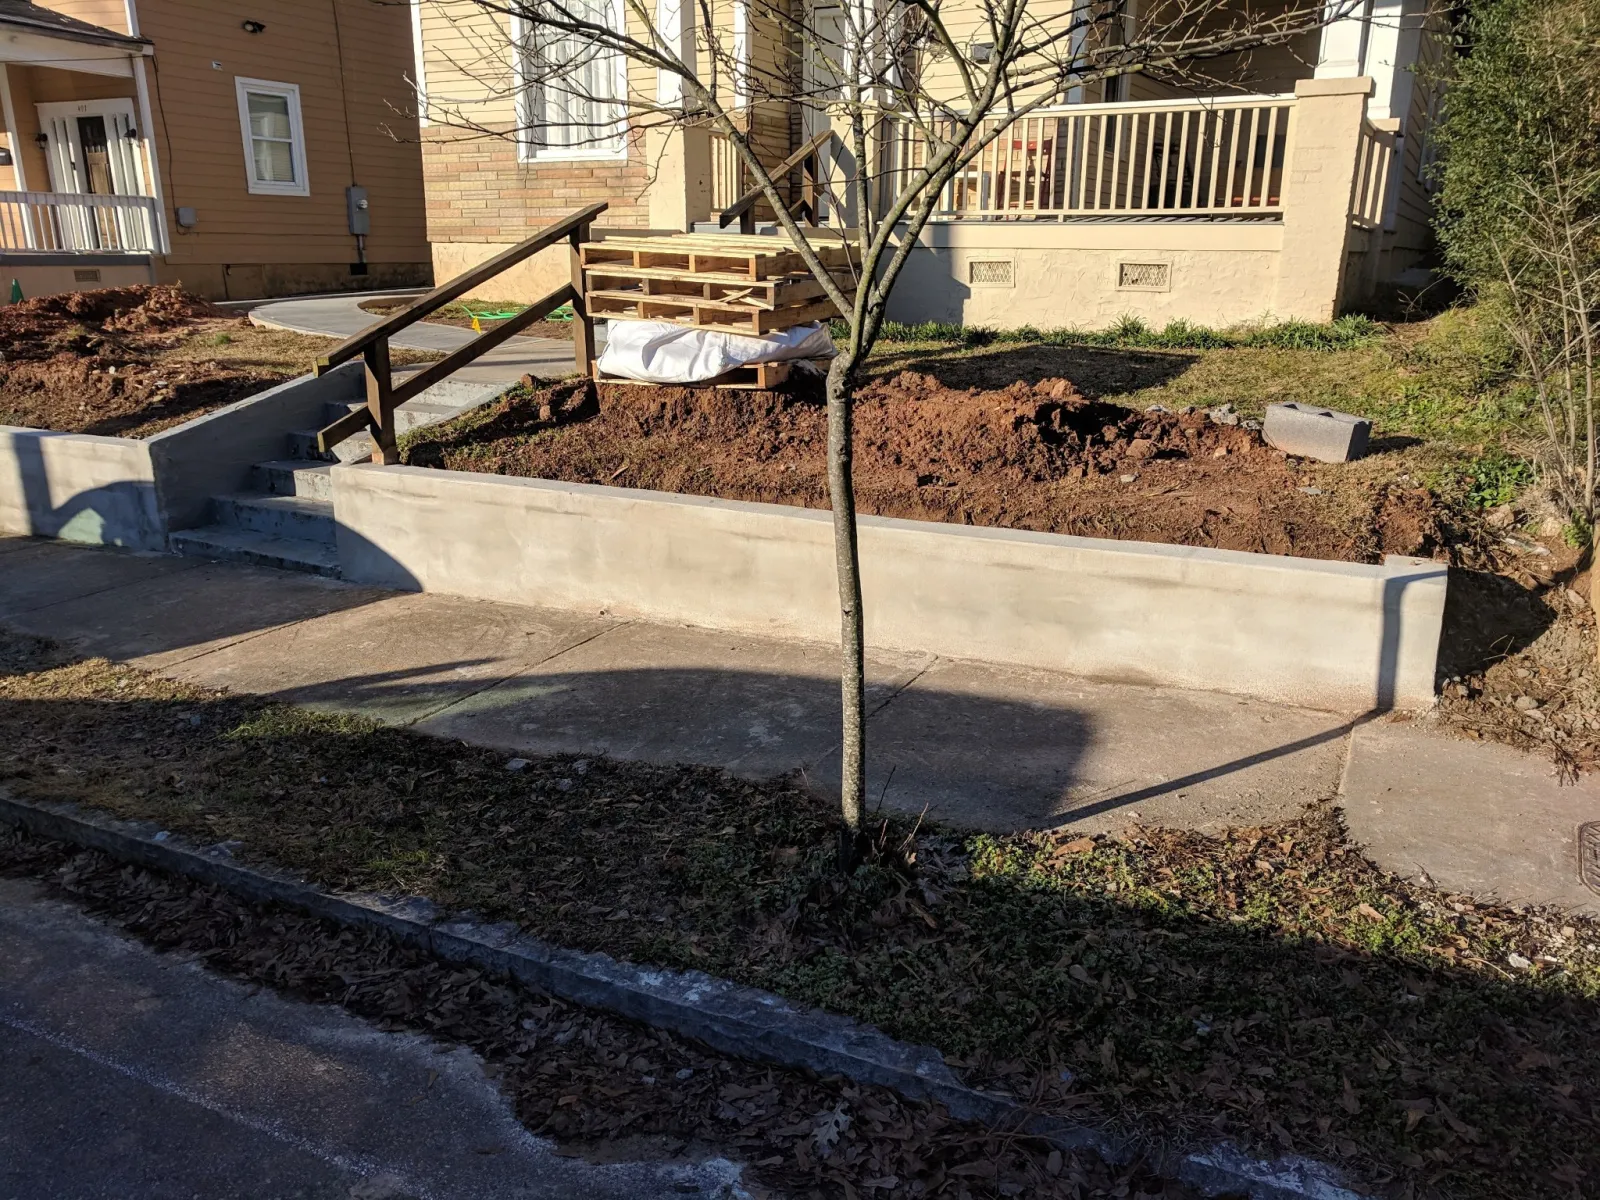
Poured concrete walls (strongest option for taller walls)
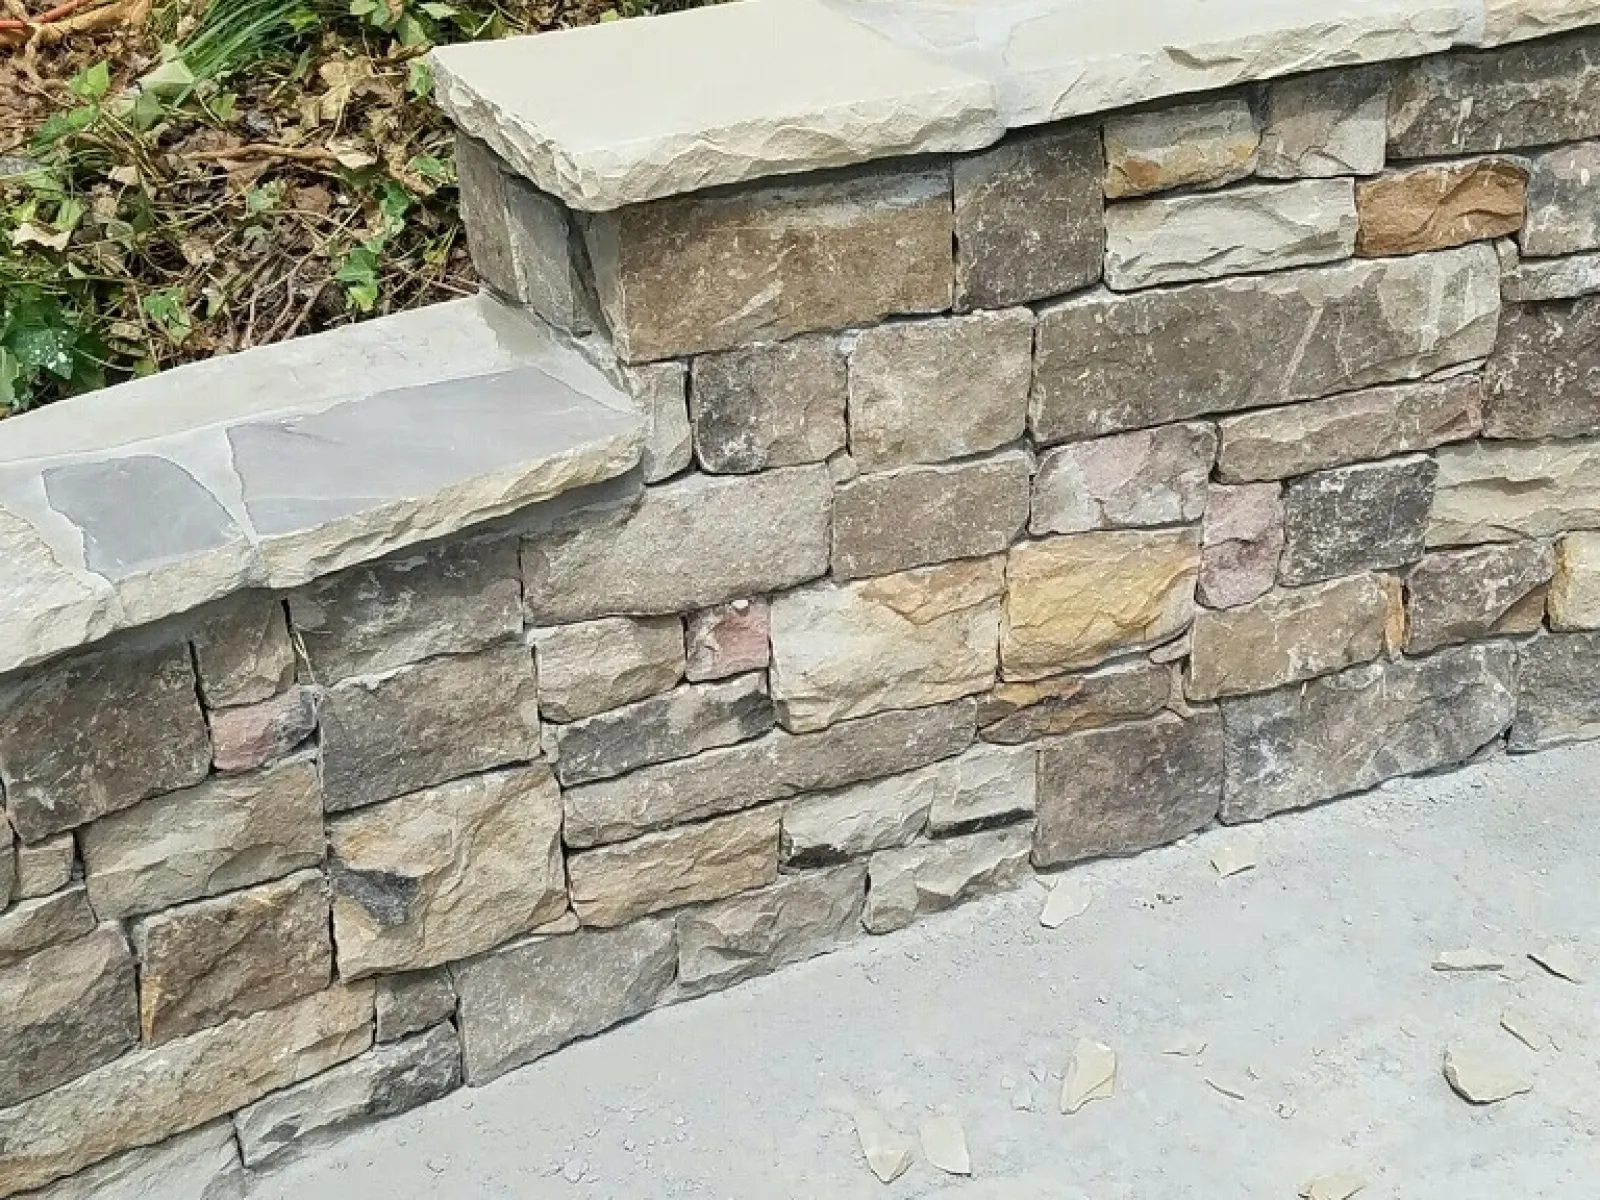
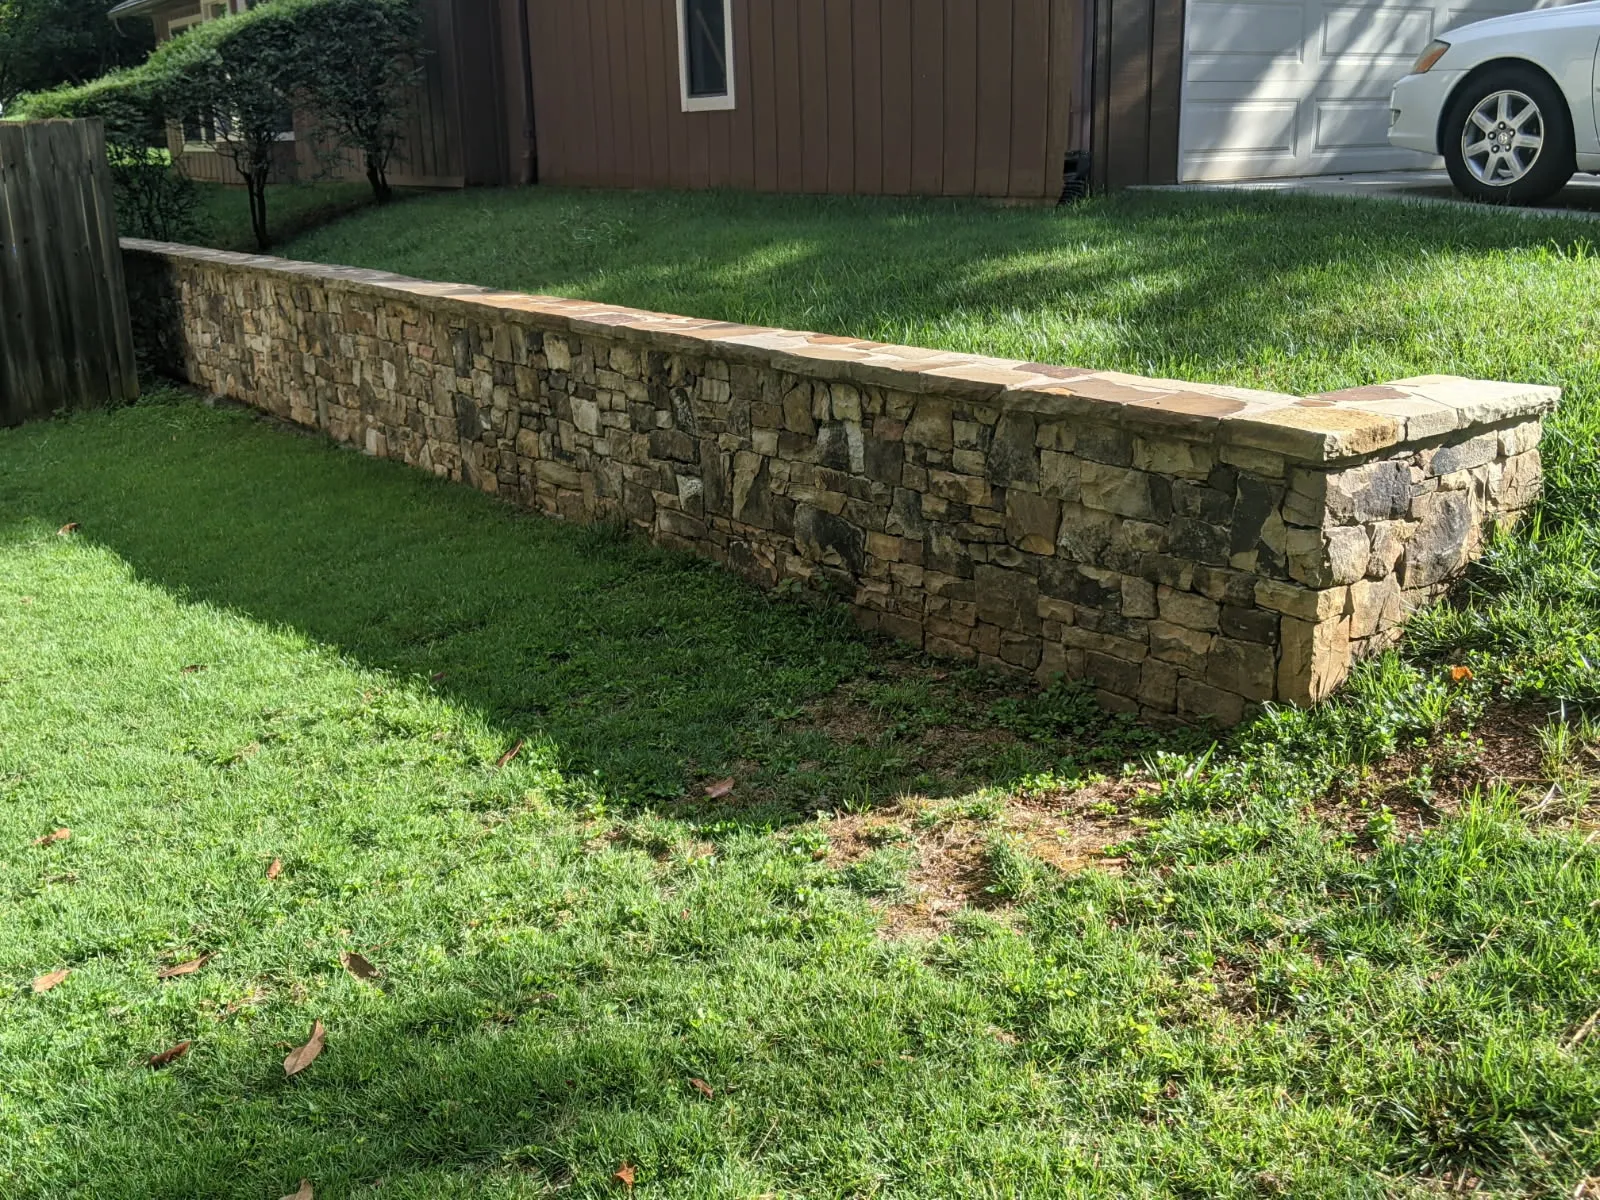
Natural stone walls (great look, but labor-intensive)
Timber walls (budget-friendly, shorter lifespan)
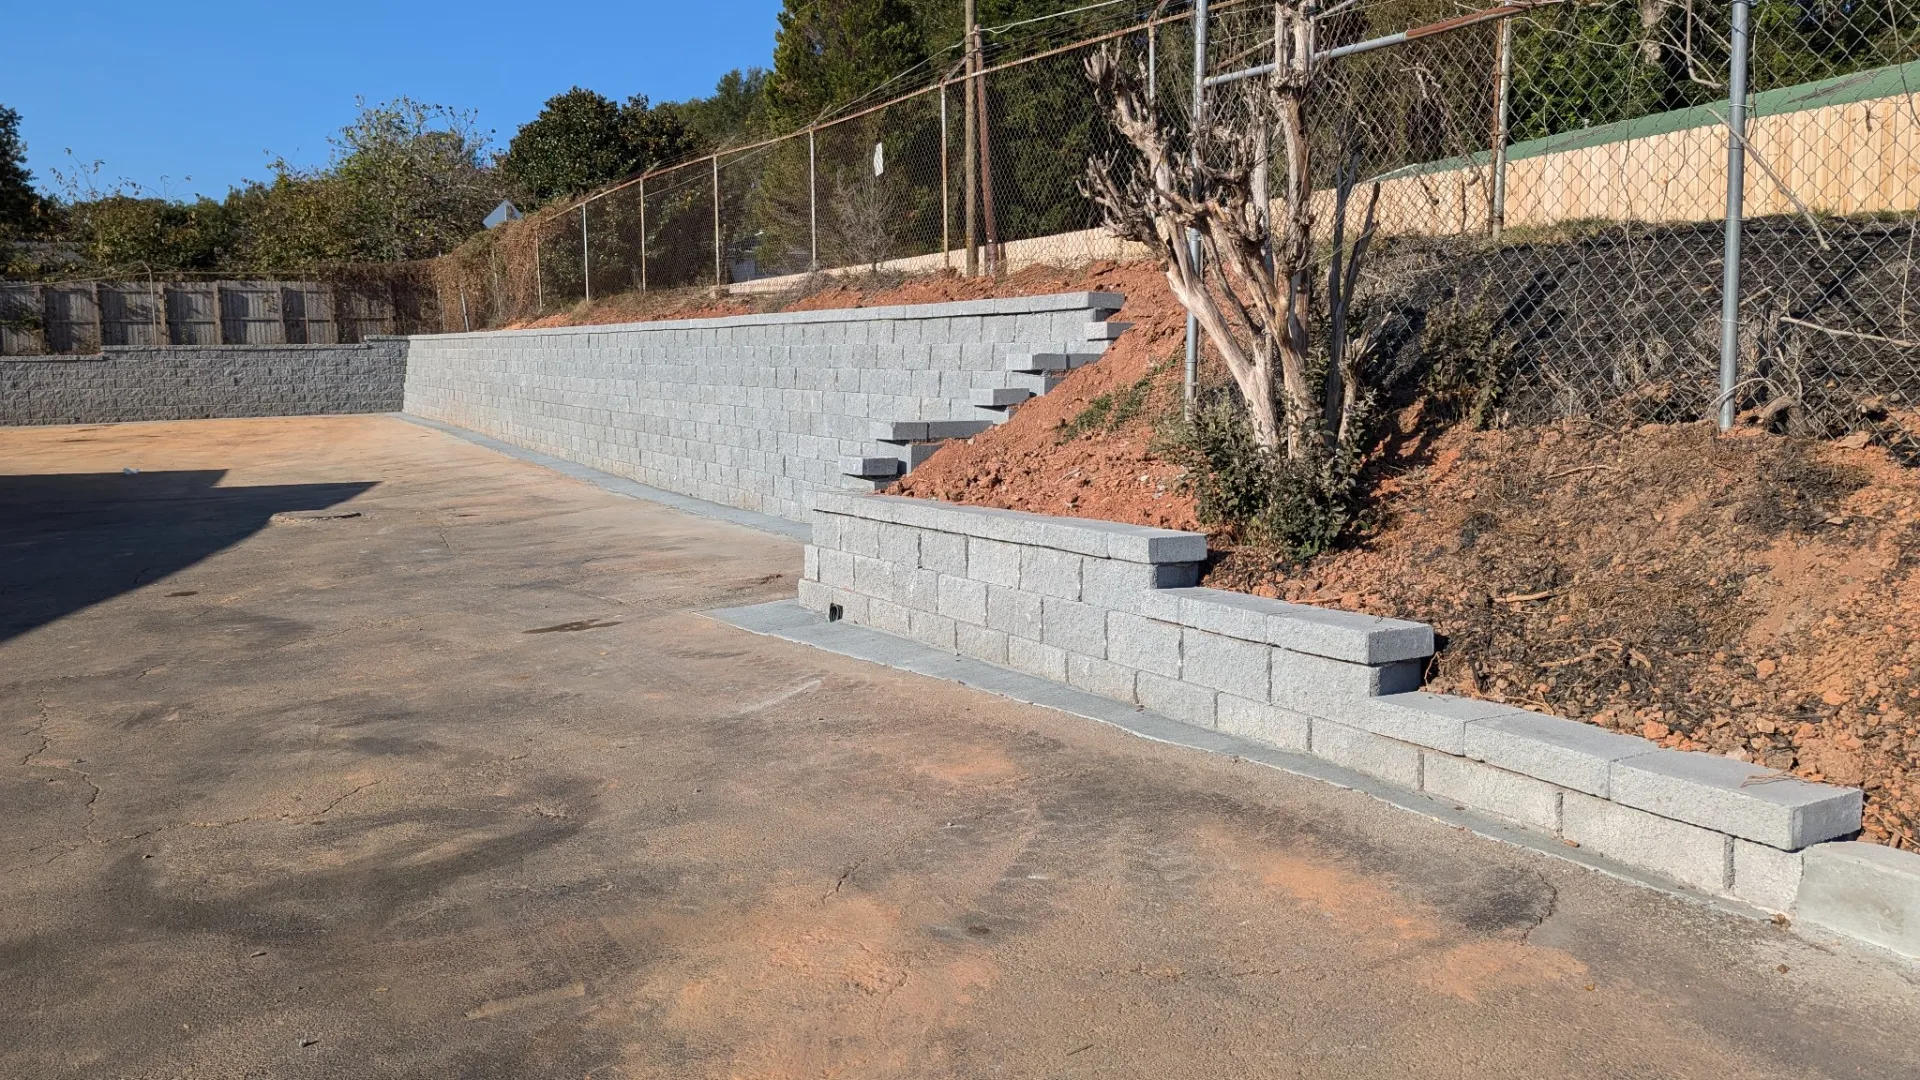
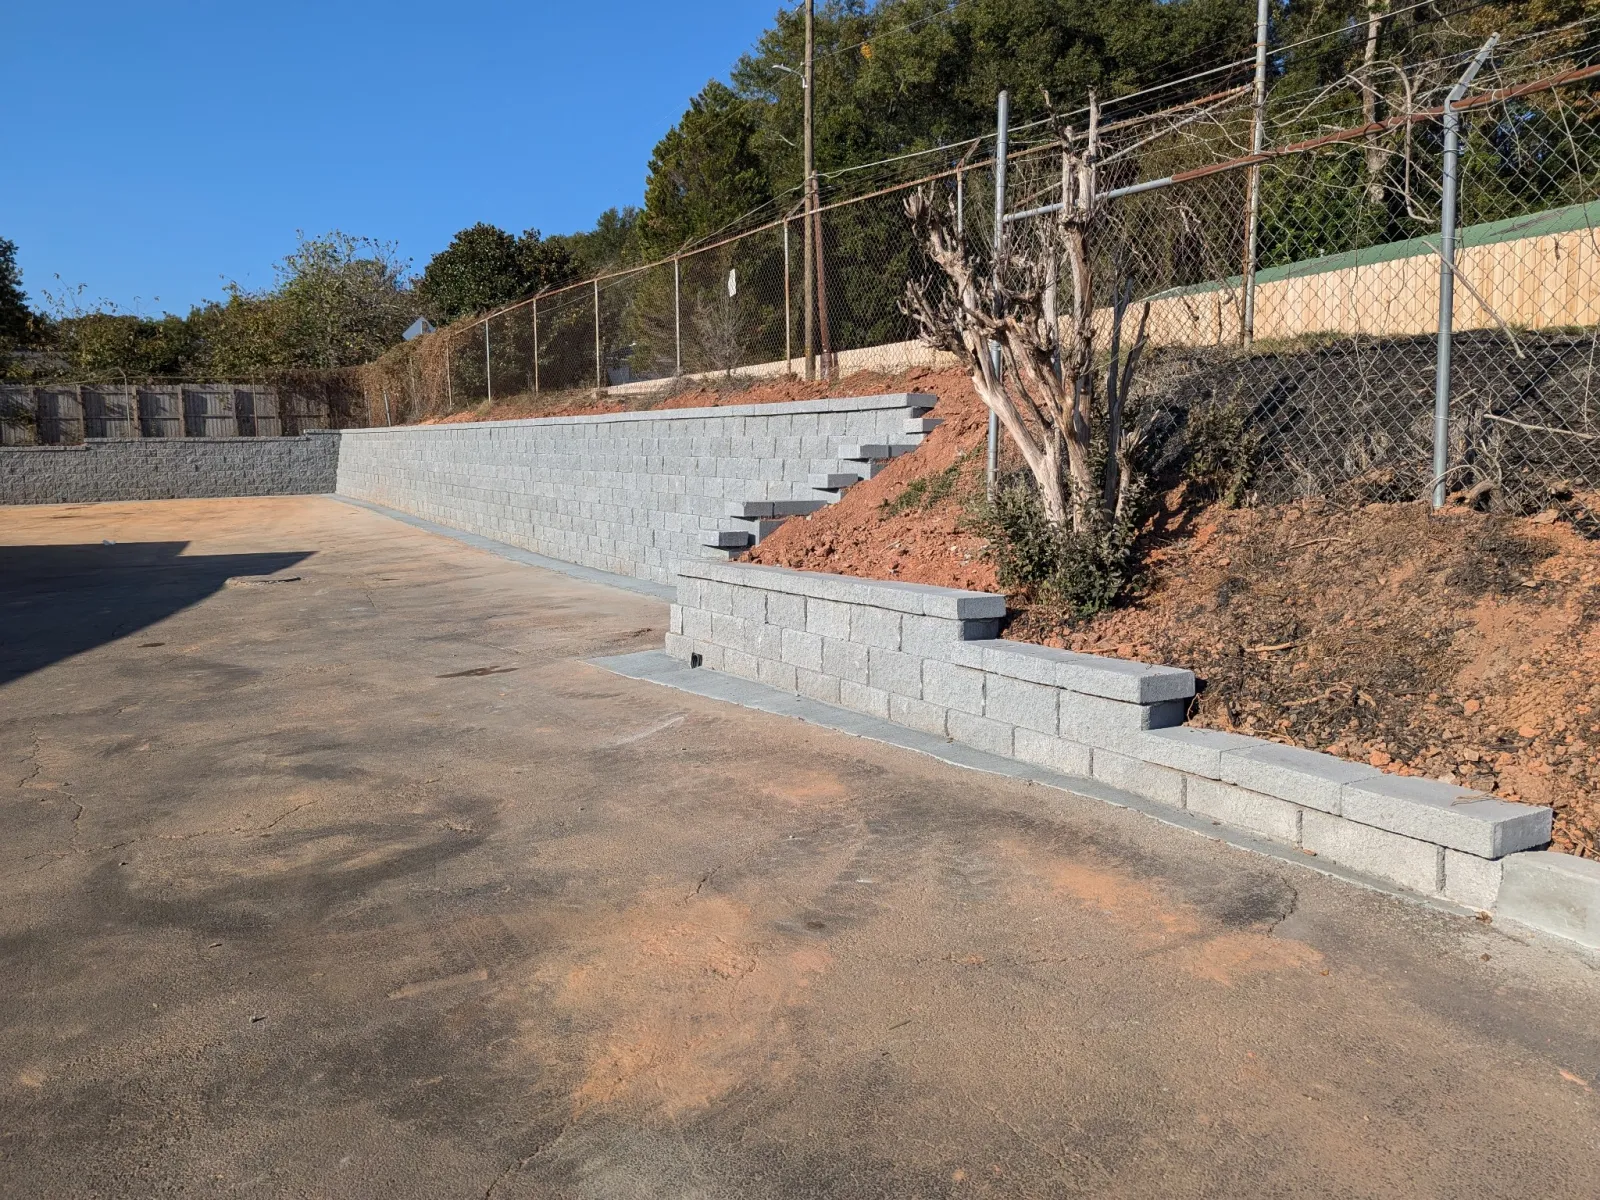
Step 3: Consider Terracing Instead of One Tall Wall
One of the biggest mistakes people make is trying to solve a steep slope with a single, tall wall.
In many cases, terraced retaining walls are the smarter option:
Less pressure on each wall
Better drainage
More visually appealing
Easier to maintain over time
Multiple shorter walls usually last longer — and look better — than one oversized structure.
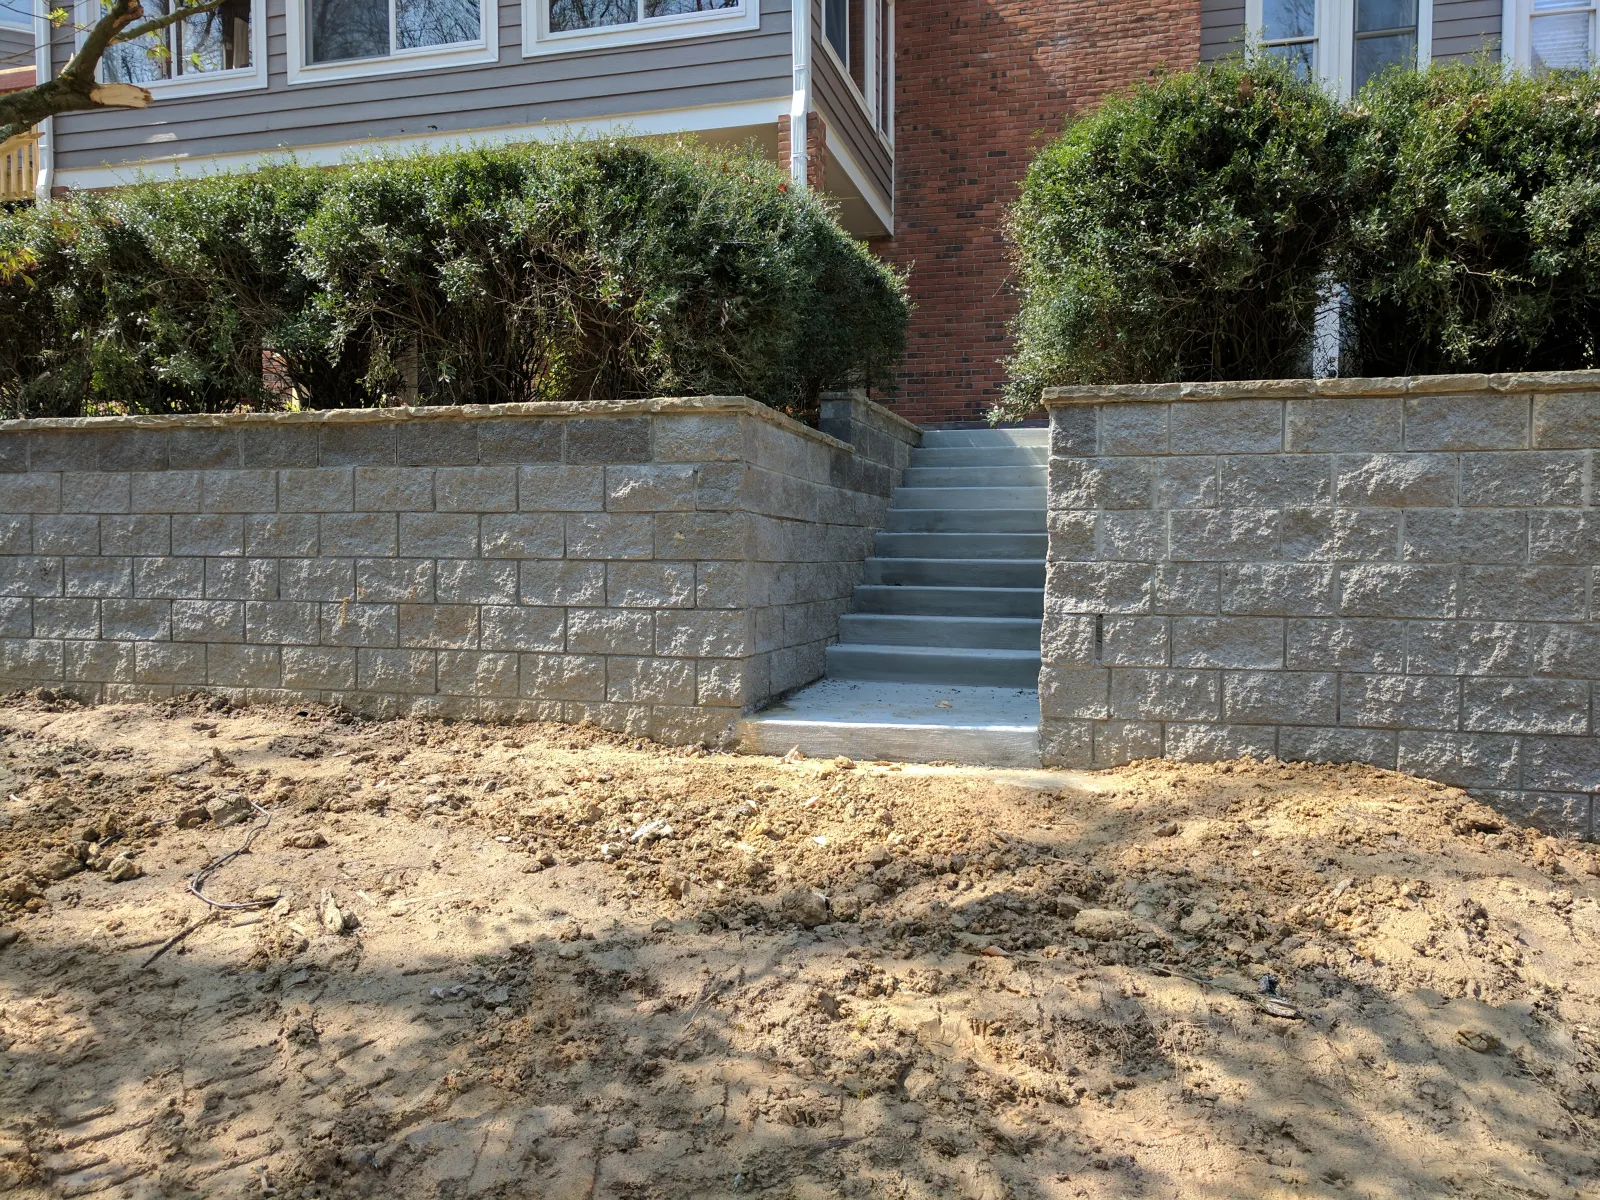
Step 4: Build a Solid, Level Base
This part isn't glamorous, but it's critical.
Even though the yard slopes, your base must be level. That means:
Digging a trench into the slope
Installing 6-12 inches of compacted gravel
Taking the time to get it right before the first block or pour
A rushed base almost always leads to leaning or settling later.
Step 5: Don’t Skip Drainage (Seriously)
If retaining walls fail, drainage is almost always the reason.
Behind the wall, you'll want:
Clean gravel backfill (not dirt)
A perforated drain pipe
A clear path for water to escape
Water buildup behind a wall adds massive pressure. Good drainage relieves that pressure before it becomes a problem.
Step 6: Step the Wall Back as You Build
As you build upward on a slope, each course should step slightly back into the hill.
This helps:
Counteract soil pressure
Improve overall stability
Keep the wall from tipping forward over time
Many systems also use geogrid reinforcement, which extends into the soil behind the wall for added strength.
Step 7: Reinforce Taller Walls Properly
The taller the wall, the more support it needs.
Depending on height and load, reinforcement may include:
Geogrid layers
Steel rebar (for concrete walls)
Engineering design approval
If the wall supports a driveway, structure, or steep hillside, this is not the place to guess.
Step 8: Finish Strong with Backfill and Grading
Once the wall is built:
Backfill slowly in layers
Compact as you go
Grade the area so water flows away from the wall, not toward it
Landscaping can help stabilize soil, but drainage should always come first.
Common Mistakes We See All the Time
When building a retaining wall on a slope, these are the biggest red flags:
No drainage system
Using soil instead of gravel behind the wall
Building too tall without reinforcement
Ignoring permits or codes
Trying to "eyeball" level on the base
Any one of these can shorten the life of the wall dramatically.
Can This Be DIY, or Should You Hire a Pro?
Smaller, decorative retaining walls can be a good DIY project. But if your wall is:
Over 3 feet tall
Holding back a steep slope
Supporting heavy loads
…it's usually worth hiring a professional. A properly built retaining wall should last decades — not just a few seasons.
Knowing how to build a retaining wall on a slope comes down to planning, drainage, and patience. When it's done right, it adds structure, function, and value to your property. When it's rushed, it often ends up being rebuilt.
If you're unsure about your slope, soil, or wall height, getting guidance early can save a lot of time, money, and frustration.