Tips for Repairing and Restoring Cracks in Concrete Surfaces
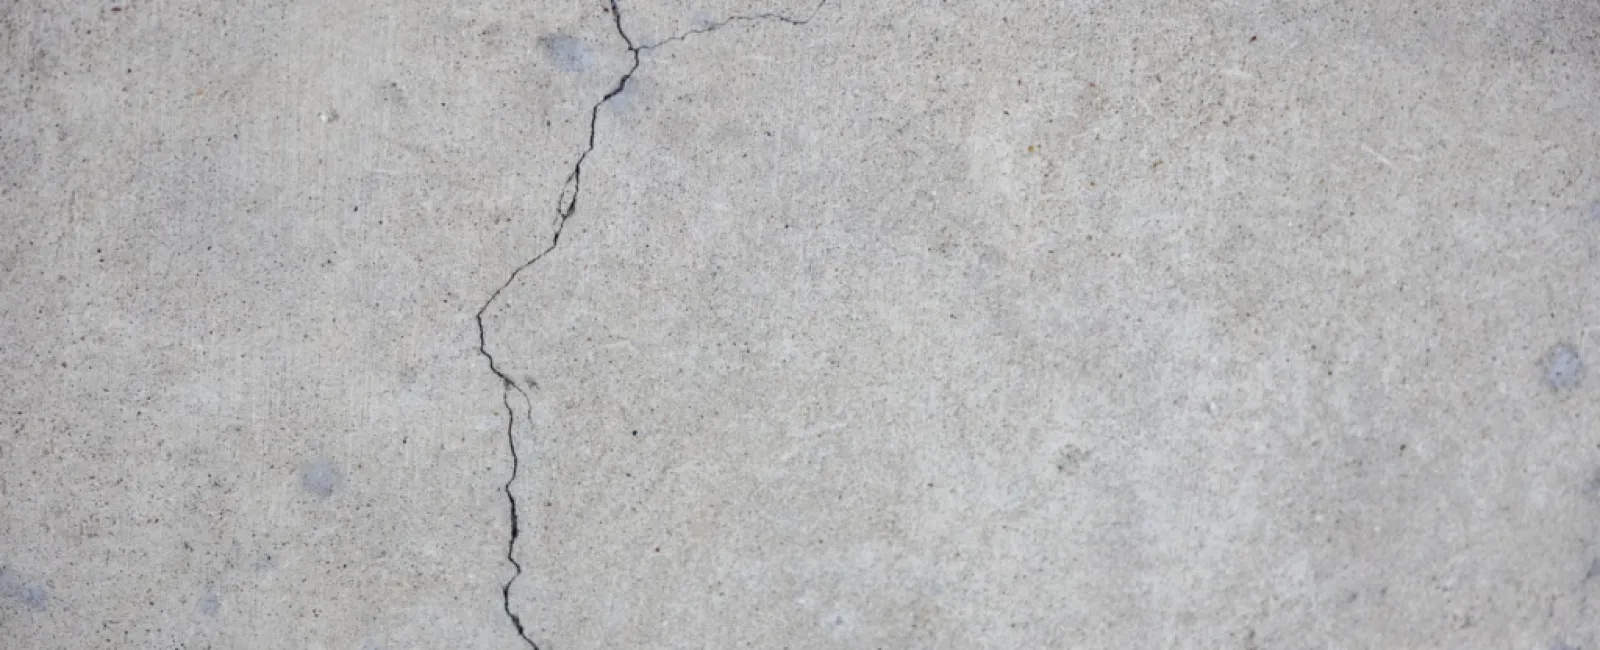
Cracks in residential concrete surfaces are a common issue that many homeowners face. These cracks can not only affect the aesthetics of your property but, if left unattended, they can also lead to more significant structural problems. Fortunately, repairing and restoring cracks in concrete surfaces is a manageable DIY project that can improve the appearance and longevity of your concrete. In this blog, we’ll provide valuable tips on how to effectively repair and restore cracks in concrete surfaces.
Identify the Type of Crack
Before starting any repair work, it’s essential to identify the type of crack you’re dealing with. There are two primary categories:
- Structural Cracks: These cracks are typically wider, deeper, and more severe. They may indicate underlying structural issues and require professional evaluation and repair.
- Non-structural Cracks: These are superficial cracks that don’t compromise the integrity of the concrete. They are commonly caused by shrinkage, temperature changes, or surface wear.
For non-structural cracks, you can proceed with DIY repair, but if you suspect structural issues, it’s best to consult a professional.
Gather Necessary Tools and Materials
To repair non-structural cracks in your concrete, you’ll need some basic tools and materials:
- Safety gear: Gloves, safety glasses, and a dust mask to protect yourself during the repair process.
- Concrete cleaner: To remove dirt, debris, and loose material from the crack.
- Concrete patching compound: A high-quality concrete patching material suitable for your specific crack type.
- Trowel or putty knife: For applying the patching compound.
- Caulking gun: If you’re using a concrete caulk for smaller cracks.
- Wire brush or grinder: For cleaning and smoothing the crack edges.
Clean the Crack
Clean the crack thoroughly to ensure proper adhesion of the patching material. Use a wire brush or grinder to remove loose debris, dirt, and any contaminants. Then, wash the crack with a concrete cleaner and let it dry completely.
Choose the Right Repair Material
Select the appropriate patching material for your crack. For smaller, shallow cracks, a concrete caulk or sealant may suffice. For larger or deeper cracks, consider a concrete patching compound that matches your existing concrete in color and texture.
Apply the Patching Compound or Caulk
Follow the manufacturer’s instructions for mixing and applying the patching compound. Fill the crack completely, ensuring the material is slightly overfilled to account for shrinkage during drying. For concrete caulk, simply apply it directly into the crack. Smooth the surface with a putty knife or trowel to achieve a uniform finish.
Allow Proper Curing Time
Give the patching compound or caulk sufficient time to cure. The drying time can vary depending on the product and environmental conditions, so refer to the manufacturer’s recommendations. Keep the patched area protected from moisture or foot traffic during this period.
Seal and Protect
Once the patching material is fully cured, consider applying a concrete sealer to protect the repaired area from moisture, chemicals, and further damage. This step will help ensure the longevity of your repair.
Conclusion
Repairing and restoring cracks in residential concrete surfaces doesn’t have to be a daunting task. By identifying the type of crack, gathering the necessary tools and materials, cleaning the crack thoroughly, choosing the right repair material, applying it correctly, allowing for proper curing, and sealing the repaired area, you can effectively address cracks and maintain the integrity of your concrete surfaces. Regular maintenance and timely repairs will help keep your concrete surfaces looking their best and ensure their longevity. For more complicated projects, please reach out to your local concrete contractor professionals.

