Resurfacing a Concrete Garage Floor: What Homeowners Should Know
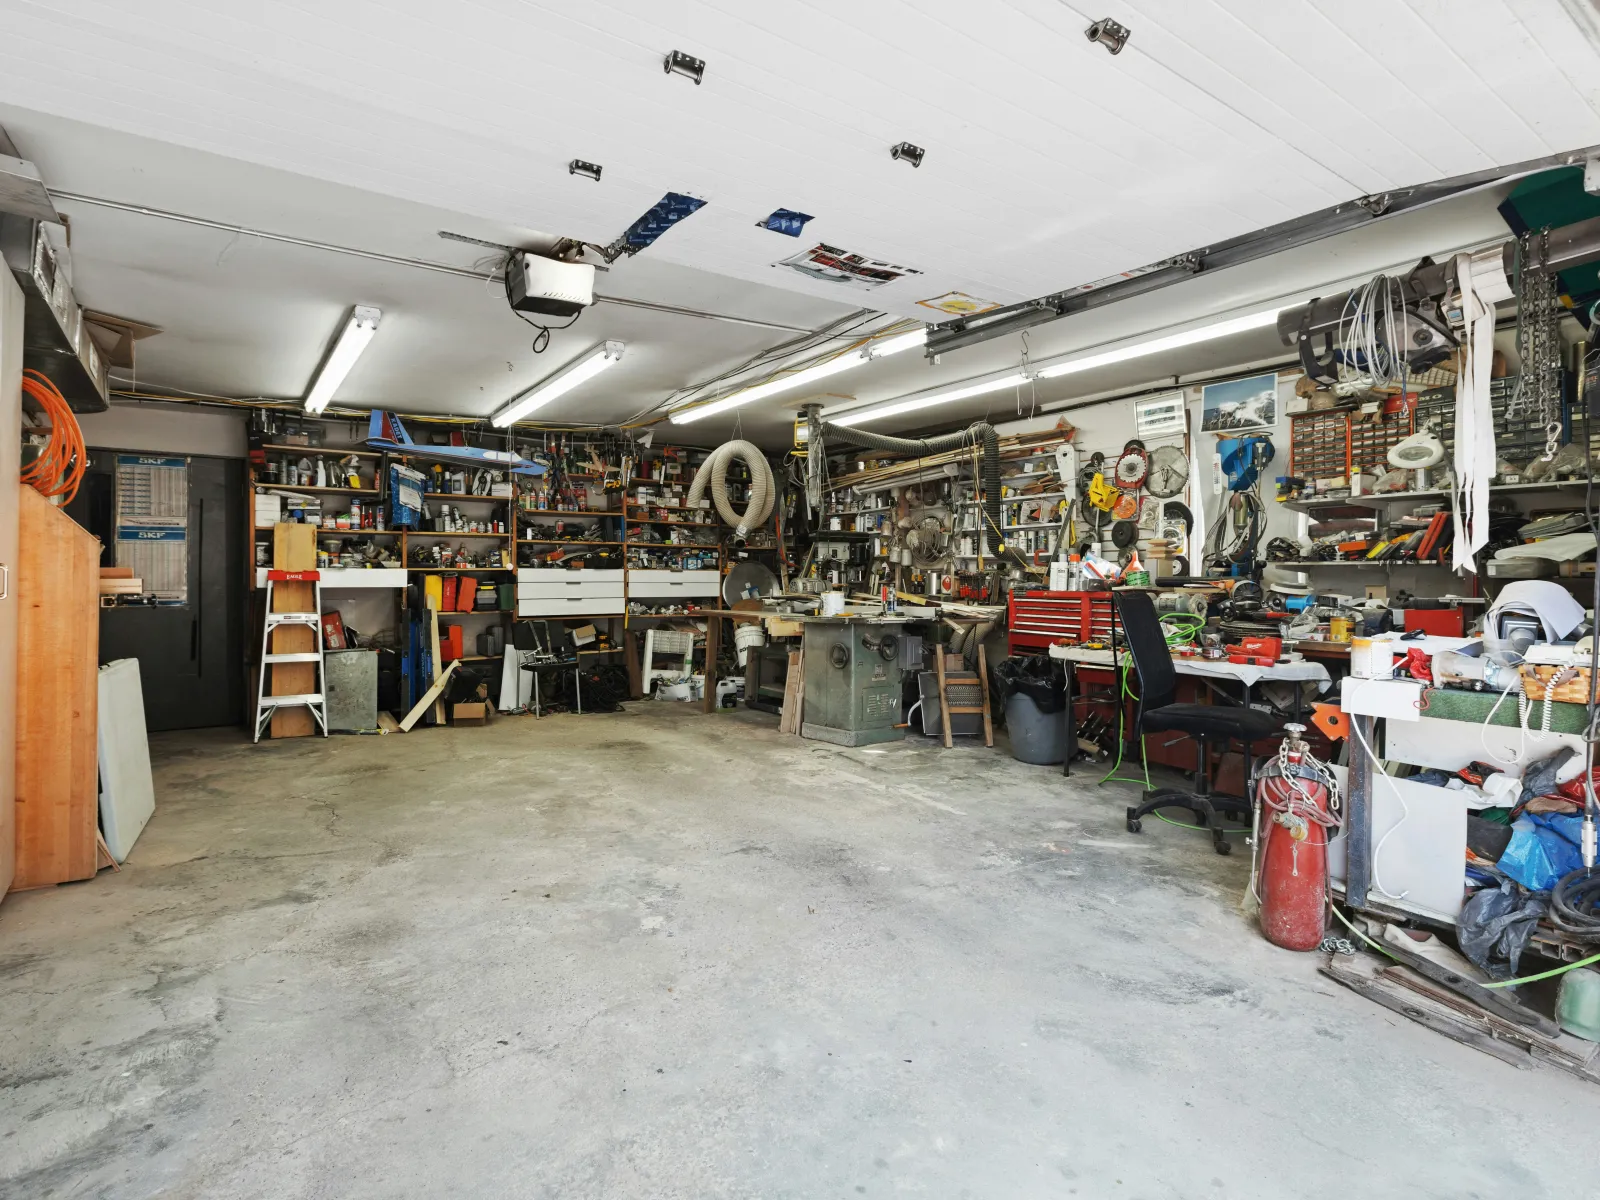
Garage floors take a steady beating. Between vehicle traffic, temperature swings, moisture, road salt, oil drips, and heavy storage, concrete wears down faster than most people expect. Over time, that shows up as cracks, pitting, discoloration, and uneven surfaces.
Resurfacing can dramatically improve both the look and performance of a garage, but it's important to understand what's involved, when it makes sense, and when a full replacement might be the better option.
Let's walk through what homeowners should know before getting started.
What Does It Mean to Resurface a Garage Floor?
Resurfacing means applying a thin overlay of specialized concrete material over the existing slab to create a fresh, smooth, and durable surface. It's not a full tear-out or replacement — instead, it restores what's already there.
A properly resurfaced garage floor can:
Hide cosmetic cracks and surface damage
Improve durability and moisture resistance
Create a cleaner, brighter appearance
Prepare the surface for coatings or sealers
Extend the life of the existing slab
Steps to Resurface a Concrete Garage Floor
When done correctly, resurfacing can make a decades-old garage floor feel brand new again.

Step 1: Evaluate the Condition of the Existing Concrete
Before any work begins, the slab needs to be evaluated.
Resurfacing works best when:
The concrete is structurally sound
Cracks are minor or cosmetic
There is no major settling or heaving
Moisture issues are under control
If the slab has large structural cracks, severe sinking, or ongoing water intrusion, resurfacing alone won't solve the underlying problem.
This is often where professional guidance saves homeowners money in the long run.
Step 2: Clean and Prep the Surface Thoroughly
Surface prep is everything. A resurfacing product can only bond properly if the concrete is clean and porous.
Prep typically includes:
Removing oil, grease, dirt, and old coatings
Degreasing stubborn stains
Mechanical grinding or acid etching to open the pores
Repairing cracks and spalled areas
Removing loose or flaking concrete
Skipping prep is the fastest way to end up with peeling or delamination later.
Step 3: Repair Cracks and Imperfections
Cracks, pits, and surface defects are repaired before resurfacing begins. This ensures the new layer cures evenly and maintains strength.
Common repairs include:
Filling cracks with concrete patch or epoxy filler
Leveling low spots
Feathering edges for smooth transitions
This step improves both appearance and performance.

Step 4: Apply the Concrete Resurfacer
Once prepped and repaired, a resurfacing compound is mixed and applied across the slab.
The material is spread using squeegees or trowels to achieve consistent thickness and smoothness. Timing matters — concrete resurfacer sets quickly, especially in warm or dry conditions.
Depending on the product and desired finish, one or multiple coats may be applied.

Step 5: Cure and Protect the Surface
After application, the resurfaced floor must cure properly before traffic returns.
Typical curing considerations:
Light foot traffic after 24-48 hours
Vehicle traffic after several days
Avoid heavy loads or chemicals during early cure
Maintain proper ventilation and temperature
Once cured, many homeowners choose to apply a sealer or coating for added durability and easier maintenance.
How Long Does a Resurfaced Garage Floor Last?
When properly installed and maintained, resurfaced concrete floors can last 10-15 years or more depending on use, climate, and maintenance habits.
Regular cleaning, sealing, and avoiding harsh chemicals help maximize lifespan.
DIY vs Professional Resurfacing
Some homeowners attempt DIY resurfacing kits, but garage floors can be tricky. Moisture issues, improper prep, temperature control, and product timing all impact success.
Professional resurfacing provides:
Proper surface preparation equipment
Moisture testing and mitigation
Correct product selection
Long-term durability
Warranty protection in many cases
It's often the difference between a surface that lasts a few years versus one that performs for a decade or more.
When Resurfacing Might Not Be the Right Solution
Resurfacing may not be ideal if:
The slab is severely cracked or unstable
There is ongoing foundation movement
Moisture is continuously penetrating from below
The concrete is heavily deteriorated
In these cases, repair, reinforcement, or replacement may be required.
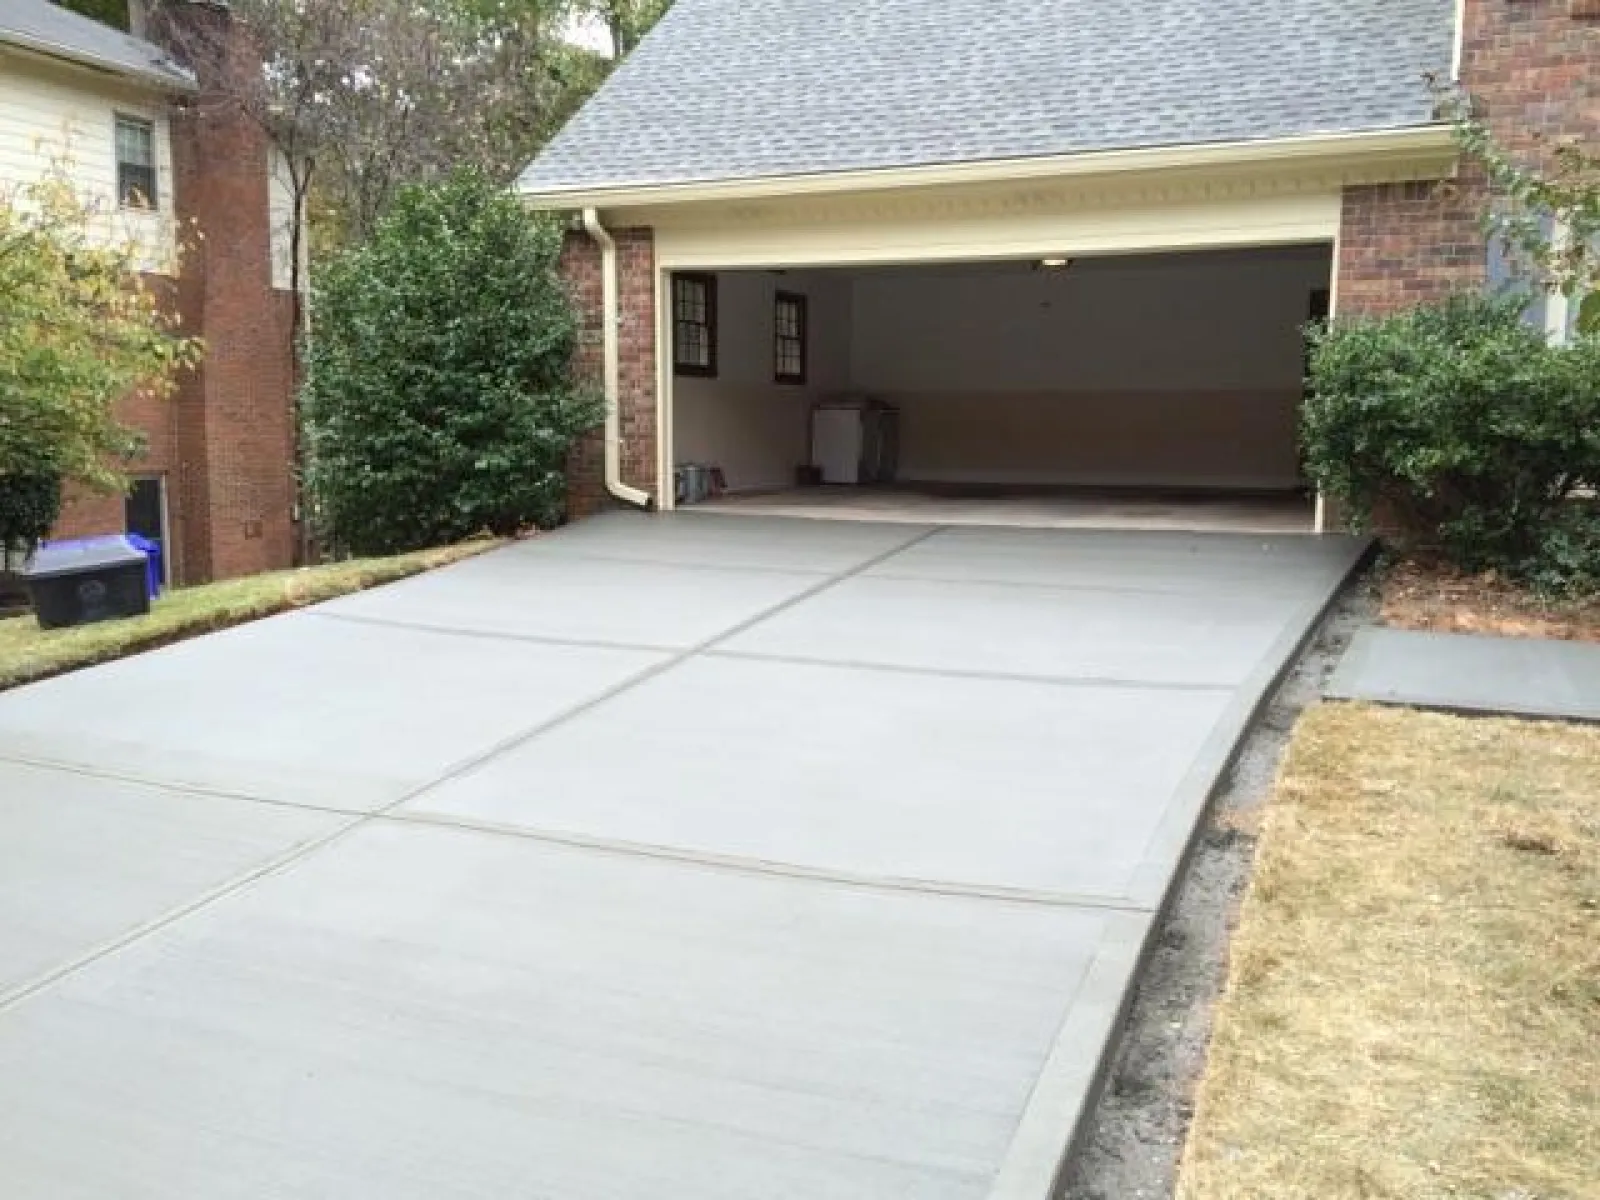
Bringing New Life to Your Garage Floor
A clean, durable garage floor improves safety, functionality, and home value. Resurfacing offers a cost-effective way to refresh worn concrete without the disruption of a full replacement.
If you're exploring options and wondering how to move forward, Sudlow Concrete helps homeowners and businesses across Georgia evaluate their concrete and recommend solutions that actually last — not just quick cosmetic fixes.